Bread sponges are officially the best thing ever.
 |
| This light, fluffy bread was made with a sponge. |
I found this post about how to make delicious bread from a sponge on
Well Fed, Flat Broke quite a while ago and have been wanting to try it since I saved a blob of dough from the slightly unsuccessful if still delicious whole grain "
Healthy Bread" from a while ago.
Just to clarify, a sponge here has nothing to do with cleaning and everything to do with letting yeast ferment overnight before putting it in dough. It's a lot like sourdough starter, but with store-bought yeast instead of sourdough starter.
I halved the recipe for my purposes, but it's an easy halving to do as long as you know that 1 tablespoon equals three teaspoons, or have a 1/2 tbsp measure. I'd never heard of one before, but my housemates have one. I love it so much.
Anyway, that was leading up to me telling you that I won't be posting the recipe, although I did take copious pictures. It's
Emily's recipe with no changes, so go there and check it out.
 |
| It all starts with milk, flour, and yeast, and a blob of dough if you saved some from the last time you made bread. |
 |
| I'm not sure why the sponge needs to be covered with plastic wrap and a towel; maybe for insulation? |
 |
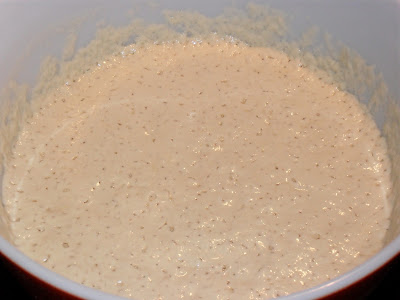
| Fermenting happened! |
 |
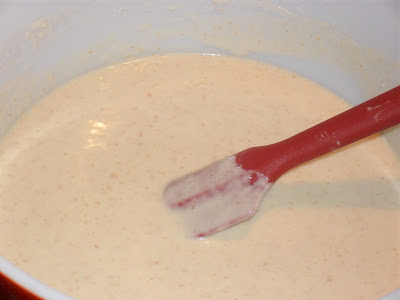
| The sponge was all gloopy even after I added the yeast/water/sugar mix. I used agave, actually, and it worked great. |
 |
| The dough seemed dry, but it really wasn't. |
 |
| I kept stirring the dough, then pressed it into the bowl for a prettier picture. |
 |
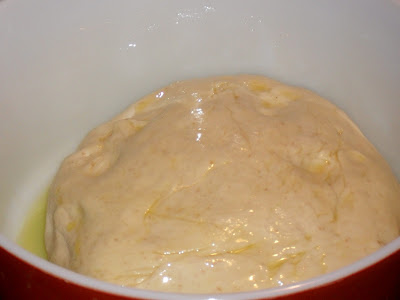
| This is the dough after kneading. I used about 3/4 c flour while kneading, then made a ball and used a little melted butter but mostly olive oil to grease the bowl. |
 |
| The dough rises really well in hot, humid weather. |
 |
| The dough is pretty easy to work with; just smoosh it into a smooth log and plop it into a greased pan. |
 |
| I forgot to take a risen picture of the dough, so I snapped one about five minutes into the baking time. It rose about another two inches in the oven. |
 |
| Ta da! I rolled my dough into a loaf. I don't recommend this method. |
 |
| Isn't it gorgeous? Other than the way it falls apart because I rolled it up and it didn't mesh. |
My doughs always collapse and go dense. This was super successful, and I highly recommend the method, even though you have to plan ahead.


No comments:
Post a Comment